


Welcome back, security enthusiasts and JWT curious!
In our last post, we teased you with the promise of unravelling the mysteries of JSON Web Tokens. This week, we’re going to talk about implementation and basic concepts.
What's in a JWT?
First things first: what exactly is a JWT? No, it’s not a sandwich…although it does have three parts!
It’s actually a compact, URL-safe means of representing claims to be transferred between two parties. It’s like a digital passport, containing information about the user and signed by the issuer.
JWTs consists of three parts:
- Header
- Payload
- Signature
These parts are separated by dots, resulting in something that looks like this:

Credit: http://jwt.io/
The JWT's business card
The header typically consists of two parts: the type of token (JWT) and the hashing algorithm being used, such as HMAC SHA256 or RSA.
“`json
{
“alg”: “HS256”,
“typ”: “JWT”
}
“`
This JSON is then Base64Url encoded to form the first part of the JWT.
Payload: where the magic happens
The payload contains the claims, i.e. statements about the user and any additional metadata. There are three types of claims: registered, public, and private.
“`json
{
“sub”: “1234567890”,
“name”: “John Doe”,
“admin”: true
}
“`
This JSON is also Base64Url encoded to form the second part of the JWT.
Signature: the security guard
The signature is used to verify that the sender of the JWT is who it says it is and to ensure that the message wasn’t changed along the way. It’s created by taking the encoded header, the encoded payload, a secret, and the algorithm specified in the header, and signing that.
“`
HMACSHA256(
base64UrlEncode(header) + “.” +
base64UrlEncode(payload),
secret)
“`
The life of a JWT
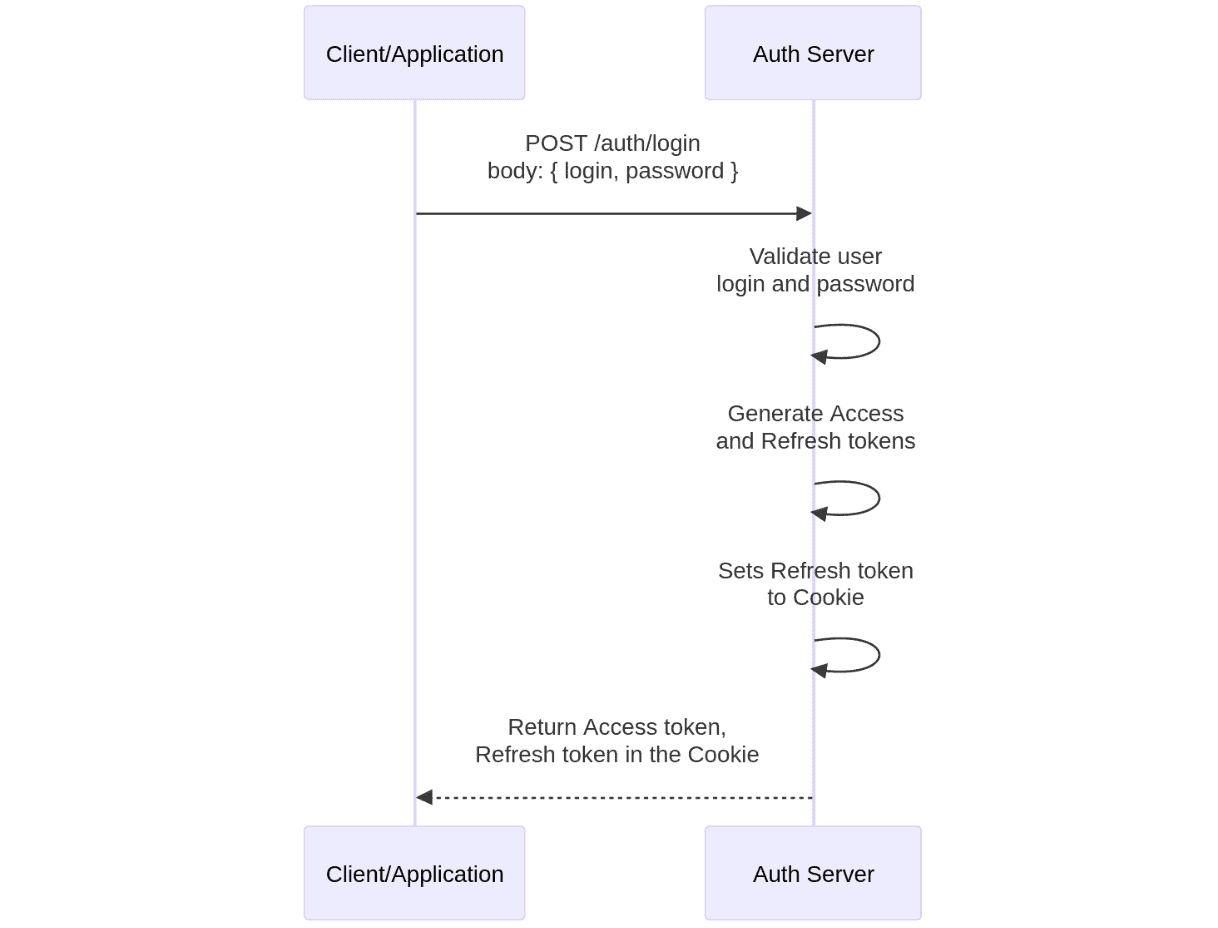
Now that we know what’s inside, let’s look at how it’s typically used:
- User logs in: They send their credentials to the server.
- Server creates a JWT: If the credentials are valid, the server creates a JWT and sends it back to the user.
- User stores the JWT: Usually in local storage (not so secure option) or a cookie (secure option).
- User sends the JWT with each request: Typically in the Authorisation header.
- Server verifies the JWT: If it’s valid, the server processes the request.
It’s like a VIP pass at a fancy club. You show your credentials at the door, get a wristband (the JWT), and then use that wristband to access different areas of the club.
Credit: http://jwt.io/
The good, the bad, and the JWT
JWTs have some great benefits:
- Stateless: The server doesn’t need to keep track of sessions.
- Portable: They can be used across different domains.
- Efficient: They’re compact and can be sent through URLs, POST parameters, or inside HTTP headers.
But they’re not without their pitfalls:
- Can’t be revoked easily: Once issued, a JWT is valid until it expires, unless additional systems have been implemented. If those systems don’t exist then your only option is to reset your secret key, which will invalidate every single JWT.
- Potential for large tokens: If you stuff too much into the payload, your tokens can get bloated.
- Security depends on the implementation: A poorly-implemented system can be a security nightmare.
In conclusion
And there you have it! You’re now equipped with the basic knowledge of what JWTs are and how they work. You’re practically a JWT whisperer at this point.
But don’t get too comfortable just yet. In our next post, we’ll be diving into the murky waters of secret key management in JWT. Trust me, it’s more exciting than it sounds, and it might just save your application from turning into a hacker’s playground.
Until then, keep your tokens secure and your secrets secret!
